A dry basement is essential for maintaining the integrity of your home and ensuring a healthy living environment. One crucial component in achieving this is the installation of a vapor barrier. In this guide, we’ll delve into what a vapor barrier is, why it’s essential, how to install it, and its benefits for your home.
What Is a Vapor Barrier?

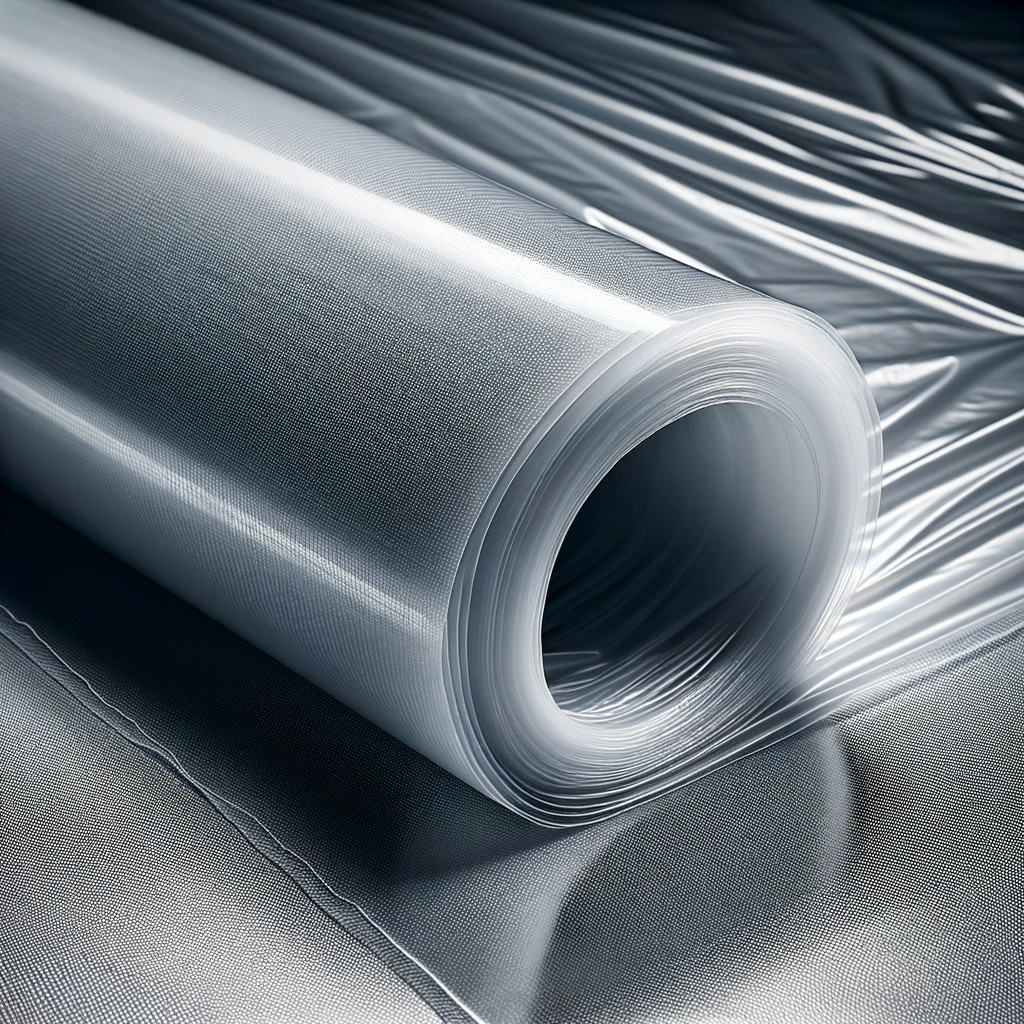
A vapor barrier is a material designed to prevent moisture from passing through walls, ceilings, and floors. It’s commonly used in basements and crawl spaces to combat the infiltration of moisture, which can lead to issues like mold growth, structural damage, and poor indoor air quality.
5 Reasons Why Vapor Barriers Are Essential:
- Moisture Control: Vapor barriers effectively control moisture levels by preventing water vapor from entering your home’s interior. This helps maintain a consistent humidity level, reducing the risk of mold and mildew.
- Structural Integrity: Excess moisture can compromise the structural integrity of your home. Vapor barriers protect against wood rot, decay, and corrosion of metal components.
- Energy Efficiency: A properly installed vapor barrier can enhance your home’s energy efficiency by reducing the load on heating and cooling systems. It keeps your basement or crawl space at a more consistent temperature.
- Indoor Air Quality: By preventing moisture and mold growth, vapor barriers contribute to better indoor air quality. This is especially important if you plan to use your basement as a living space.
- Longevity: Installing a vapor barrier can extend the life of your basement or crawl space by preventing damage to materials and structures. It’s a long-term investment in the health of your home.
Types of Vapor Barriers
There are two primary types of vapor barriers:
- Polyethylene Sheeting: This is a plastic sheeting material that’s commonly used as a vapor barrier. It’s effective, affordable, and easy to install.
- Vapor Barrier Paint: This is a specialized paint designed to act as a vapor barrier when applied to walls and surfaces. It’s a good option for those who prefer a less obtrusive solution.
How to Install a Vapor Barrier
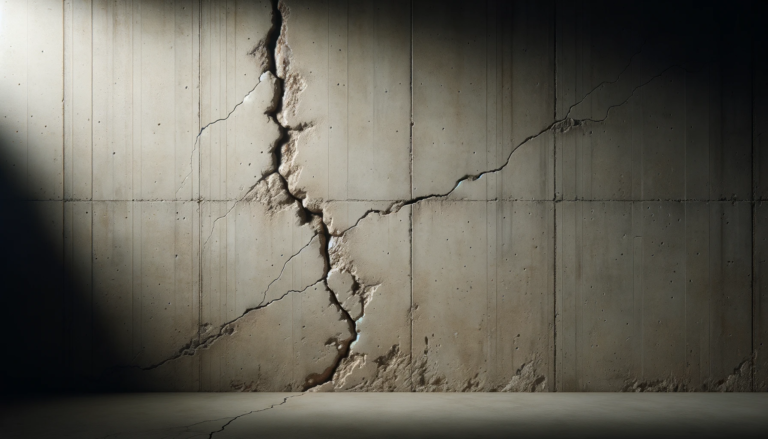
- Prepare the Area: Clear the area of debris, dirt, and any existing moisture issues. Repair any cracks or holes in the walls and floors.
- Choose the Material: Select the appropriate vapor barrier material for your project. Measure the space to determine the amount needed.
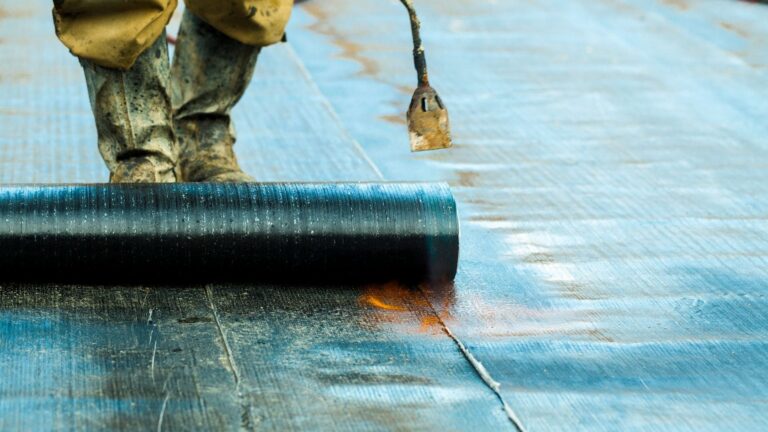
- Installation: Cut the material to size, allowing for some overlap at seams. Secure it to the walls and floors using adhesive, tape, or mechanical fasteners, ensuring a continuous seal.
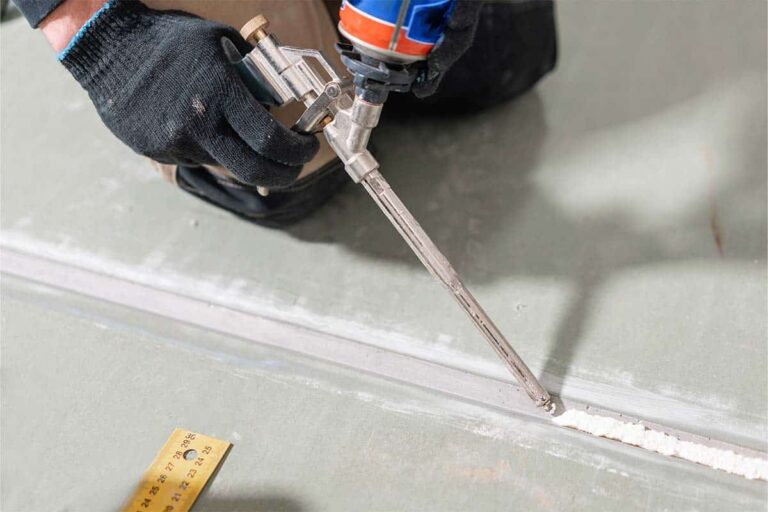
- Sealing: Seal all seams and edges with vapor barrier tape or caulk to create an airtight seal. Pay special attention to corners and edges.
- Final Inspection: Once installed, perform a final inspection to ensure there are no gaps or tears in the vapor barrier.
In conclusion, a vapor barrier is a crucial component of a comprehensive waterproofing strategy for your home. Whether you’re finishing your basement or simply want to protect your living space, the installation of a vapor barrier can provide numerous benefits and peace of mind. Give us a call for any questions you may have about vapor barriers, or to get started with your FREE estimate!


